
The thrill of shaping clay into unique and functional objects is an undeniable draw for many. Whether you’re a seasoned potter seeking to expand your creative space or a curious beginner yearning to explore this age-old craft, setting up your own pottery studio can be a dream come true. However, transforming that dream into reality requires careful planning and acquiring the necessary equipment. This comprehensive guide delves into the essential tools and equipment needed to establish your personal pottery haven.
The Foundation: Choosing Your Space
Before diving into equipment, consider the space itself. An ideal studio should be well-ventilated, with ample natural light and enough room to comfortably accommodate your chosen equipment and allow for movement during throwing or hand-building. Good ventilation is crucial for managing dust and fumes generated from clay and glazes.
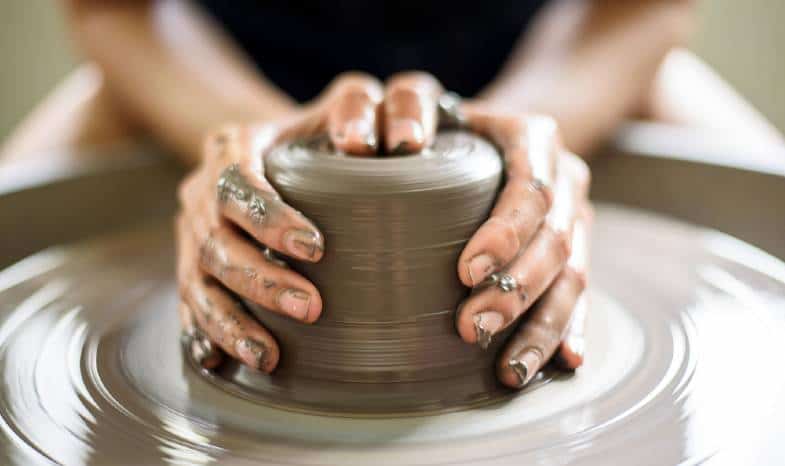
The Heart of the Studio: The Potter’s Wheel
For those drawn to wheel-throwing, a good quality potter’s wheel is paramount. Here’s what to consider:
Essential Throwing Tools:
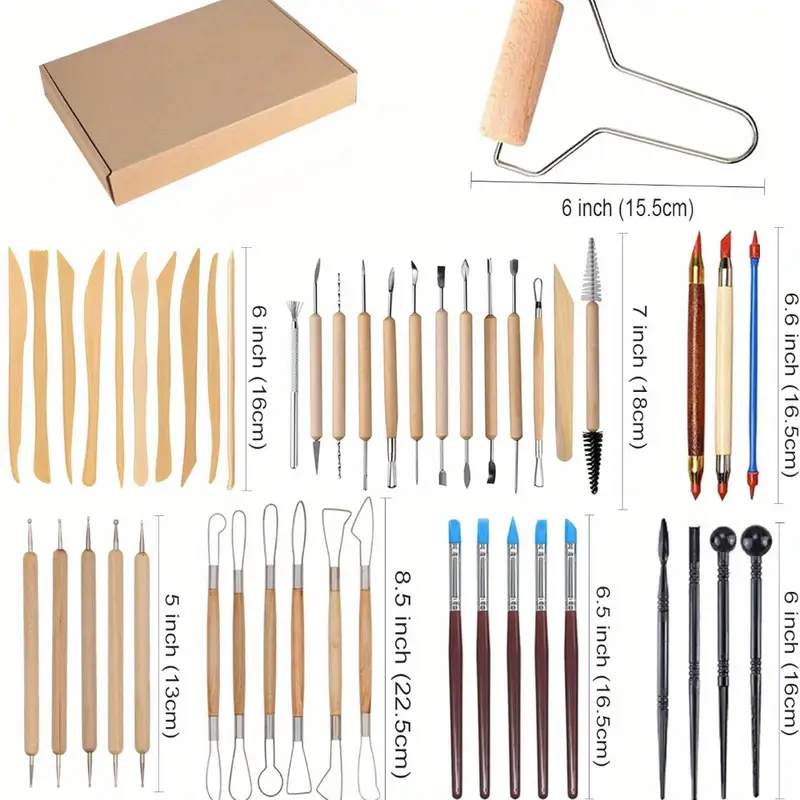
Hand-Building Essentials:
If hand-building techniques like pinching, coiling, or slab construction pique your interest, focus on these tools:
The Sculpting Arena: Work Tables and Storage
The Drying Process: Drying Racks and Shelves
Once your creations are formed, proper drying is essential. Drying racks and shelves allow for optimal airflow and prevent warping.
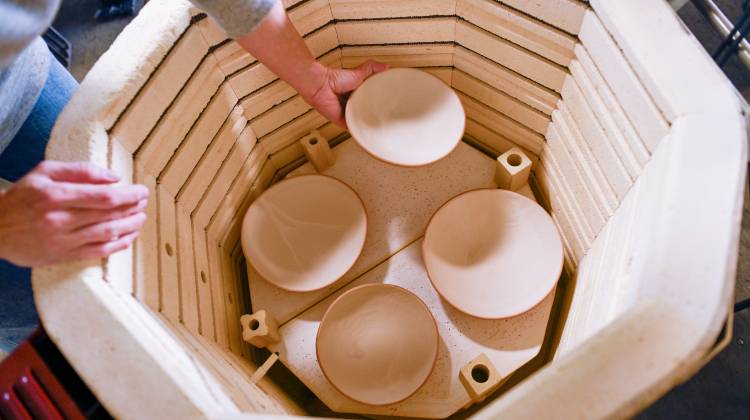
The Transformation Chamber: The Kiln
The kiln is where your pottery comes to life. Here’s what to consider:
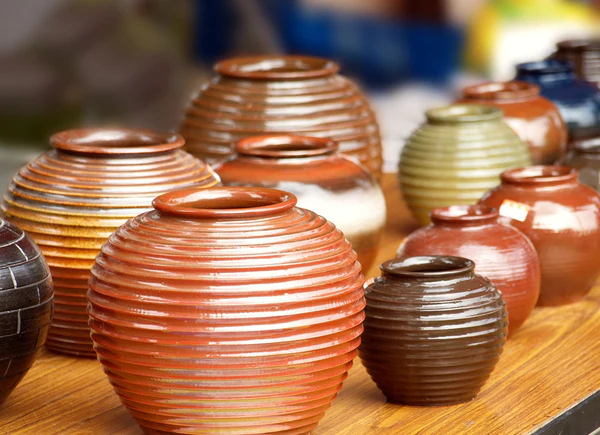
Glazing Essentials:
Glazes transform raw clay into stunning, finished pieces. Here’s what you’ll need:
Safety First: Essential Protective Gear
Additional Considerations:
Beyond the Essentials: Tools for Creativity
Once you’ve established the core equipment for throwing, hand-building, and firing, you can delve into a world of tools that enhance your creativity and artistic expression. Here are some additional items to consider:
Investing in Your Craft: Choosing Quality Tools
While starting with a basic set of equipment is wise, remember that quality tools can significantly enhance your pottery experience. Consider investing in well-made pottery tools that will last for years. Look for brands known for their durability and functionality.
Learning Resources: Books, Online Tutorials, and Workshops
As you embark on your pottery journey, equip yourself with knowledge. Invest in pottery books or subscribe to online tutorials. Consider taking workshops or classes from experienced potters to refine your skills and learn new techniques.
Building a Community: Connecting with Other Potters
The world of pottery is a vibrant community. Join online forums or local pottery clubs to connect with other potters, share experiences, and learn from each other. This sense of community can be a source of inspiration and support as you develop your artistic voice.
The Final Touch: Personalizing Your Studio
Your pottery studio is your creative haven. Personalize it with elements that inspire you. Display artwork, inspirational quotes, or pottery made by artists you admire. Create a space that fosters your creativity and makes you feel comfortable and welcome.
Conclusion: Embarking on Your Pottery Journey
Setting up your own pottery studio is an exciting step in your artistic journey. By acquiring the essential tools and equipment, equipping yourself with knowledge, and creating an inspiring space, you’ll be well on your way to shaping beautiful and functional pottery pieces. Remember, pottery is a lifelong learning experience. Embrace the process, experiment with different techniques, and most importantly, have fun! With dedication and practice, you’ll transform clay into stunning creations that reflect your unique artistic vision. So, turn on the potter’s wheel, unleash your creativity, and get ready to witness the magic of pottery unfold in your very own studio.